Lesson 8 of 36
How to cover blemishes and redness
Piling on concealer makes spot coverage look heavy and cakey. With the right color neutralizing and targeted edge-blending, your base will look smooth and seamlessly even.
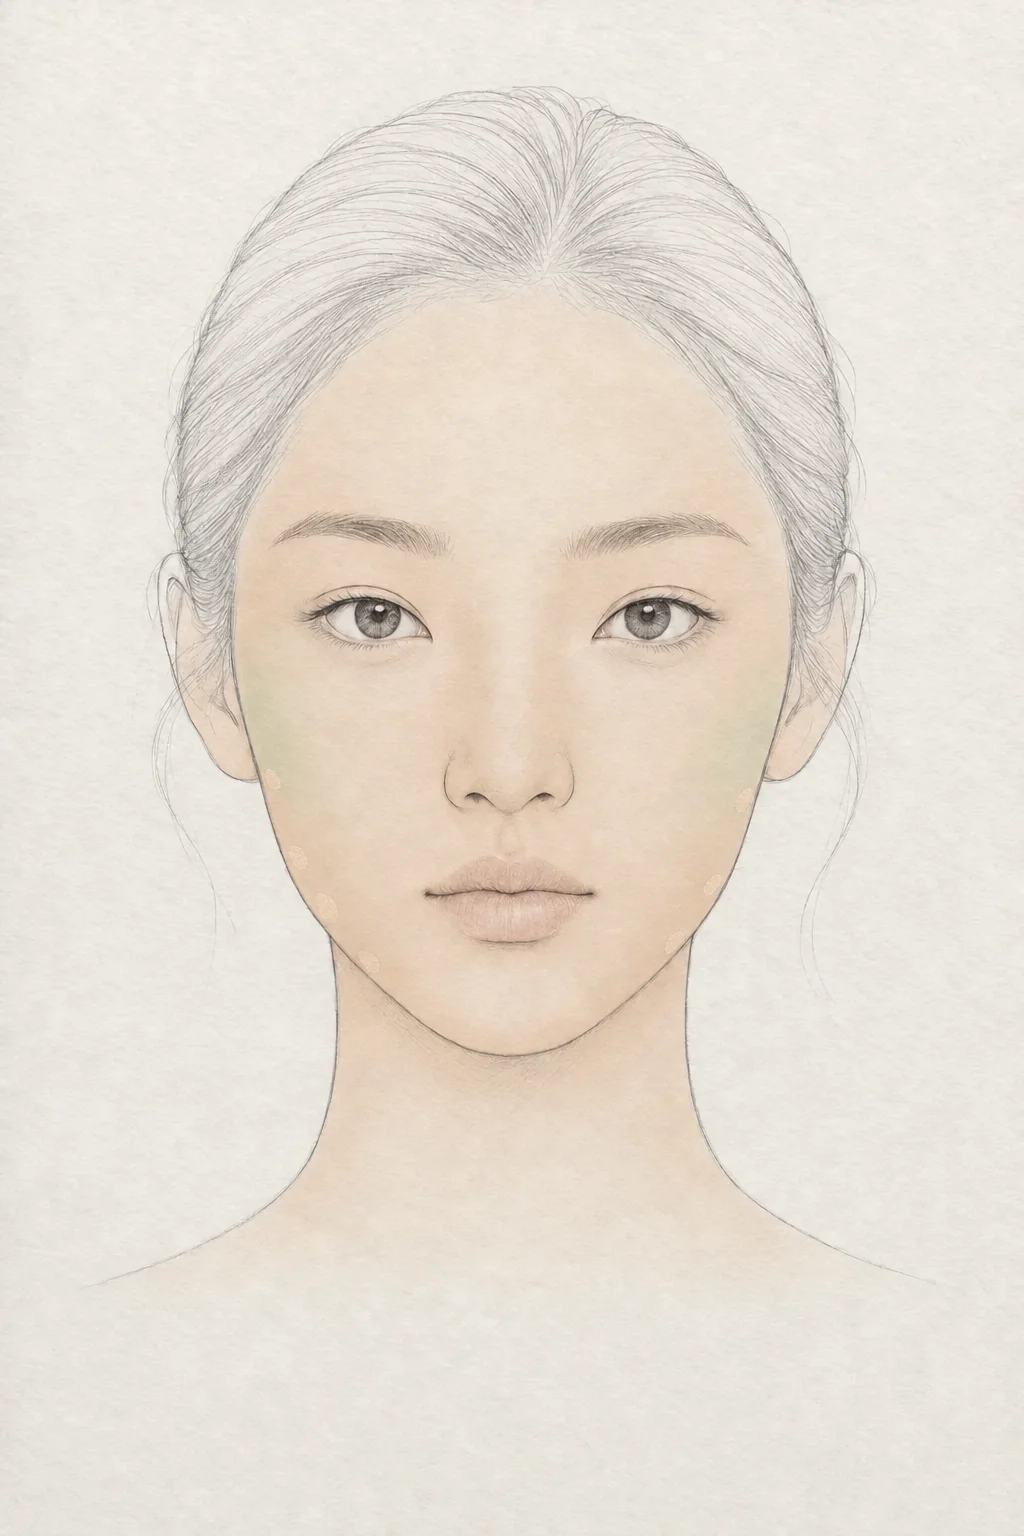 1·2·3
Watch · 16 sec
All 3 steps on one face
The chart shows where each step goes; the video shows how the face changes. Step-by-step details are below.
JJ is an AI-generated model. Makeup changes are illustrated by AI.
infoCoupang links on this page are affiliate links (Coupang Partners) — we may earn a commission at no extra cost to you. YesStyle and Amazon links are plain searches. Each link searches for a product type, not a specific brand we endorse.
1Skin
Neutralize redness with green or beige
For wider red areas, apply a thin wash of green or yellow-beige corrector before foundation. Canceling out the red tone first makes the skin look evenly balanced.
Color corrector · finger or brush2Skin
Dab the spot and blend edges only
For tiny marks, pick a pot concealer half a shade deeper than your base. Dab directly onto the spot, then softly feather out only the outer edges so the center stays covered.
Pot concealer · detail brush3Skin
Press lightly over flaky texture
Adding thick concealer over dry, flaky skin only emphasizes texture. Use whatever residue remains on your sponge and press very lightly so it looks smoother.
Makeup sponge or puff
lightbulbTips
- Using a concealer that is too light will highlight blemishes instead of disguising them.
- Let the concealer set for 5 to 10 seconds before blurring the edges for better adhesion.
errorCommon mistake
Rubbing right over the middle of the spot wipes away the concealer you just applied.
health_and_safetyTry any new product on your inner arm first. If redness, itching or irritation appears, stop using it and consult a dermatologist. Keep eye products out of the eyes.
The face chart is an AI-generated illustration showing where each step goes — not a photo of a real result.