Lesson 16 of 36
Winged eyeliner, step by step
Struggling with uneven wings or messy liner? Line up the angle with your lower lash line, draw the outer wing tip first, and connect it back toward the center. This makes creating symmetrical lines simple.
 1·2·3·4
Watch · 19 sec
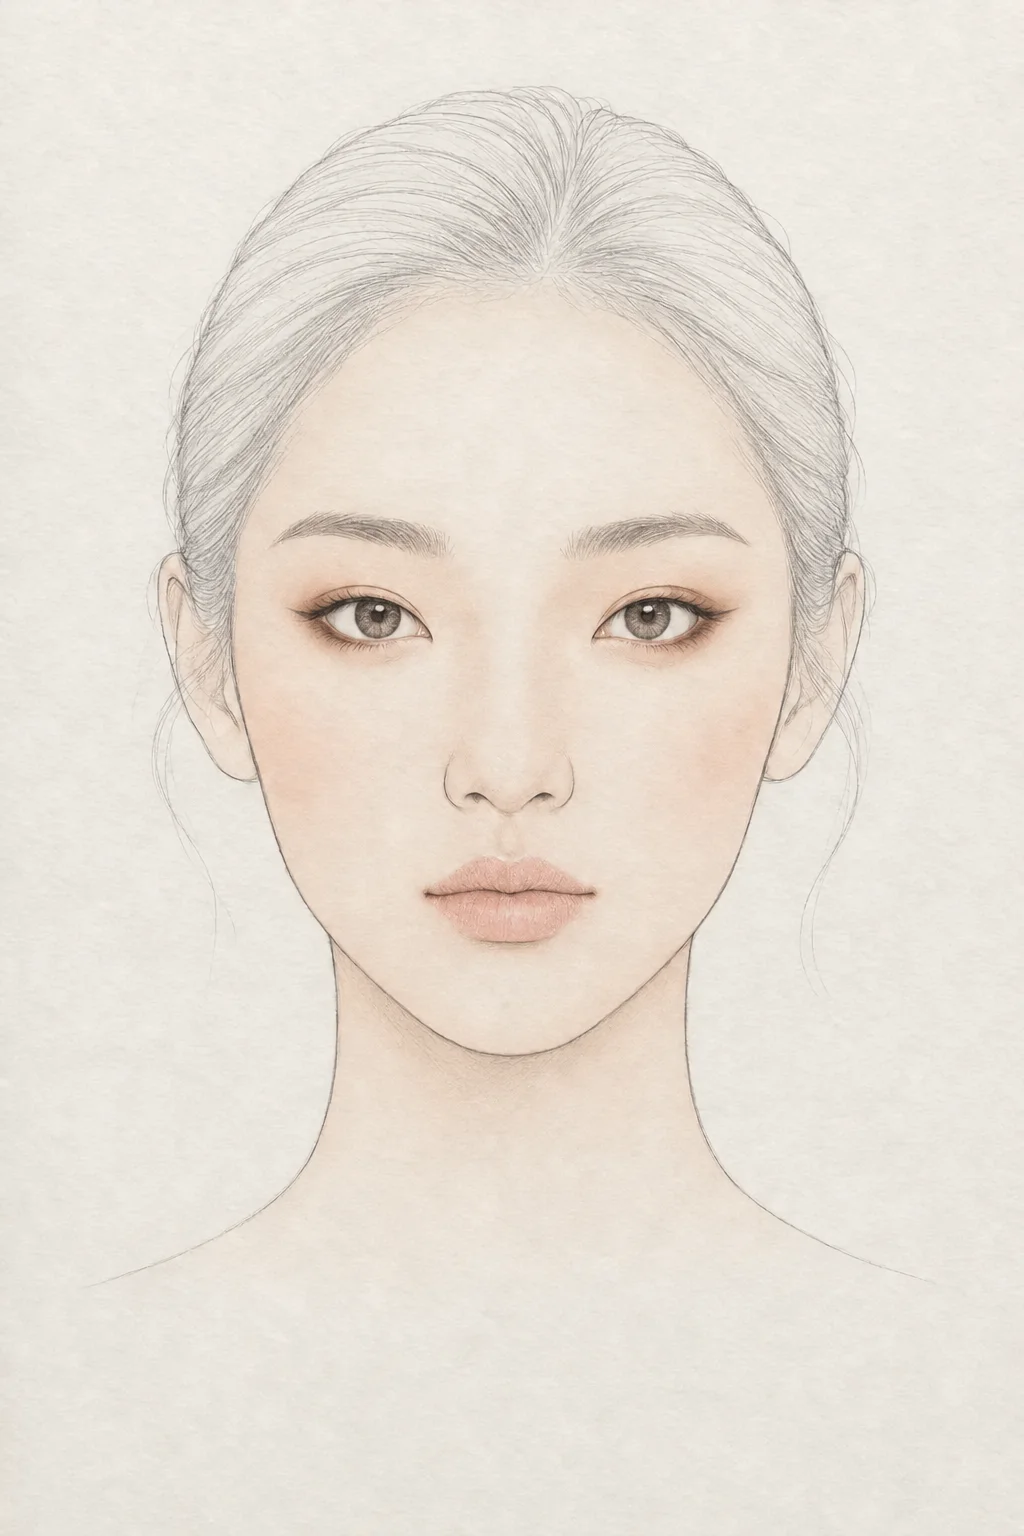
All 4 steps on one face
The chart shows where each step goes; the video shows how the face changes. Step-by-step details are below.
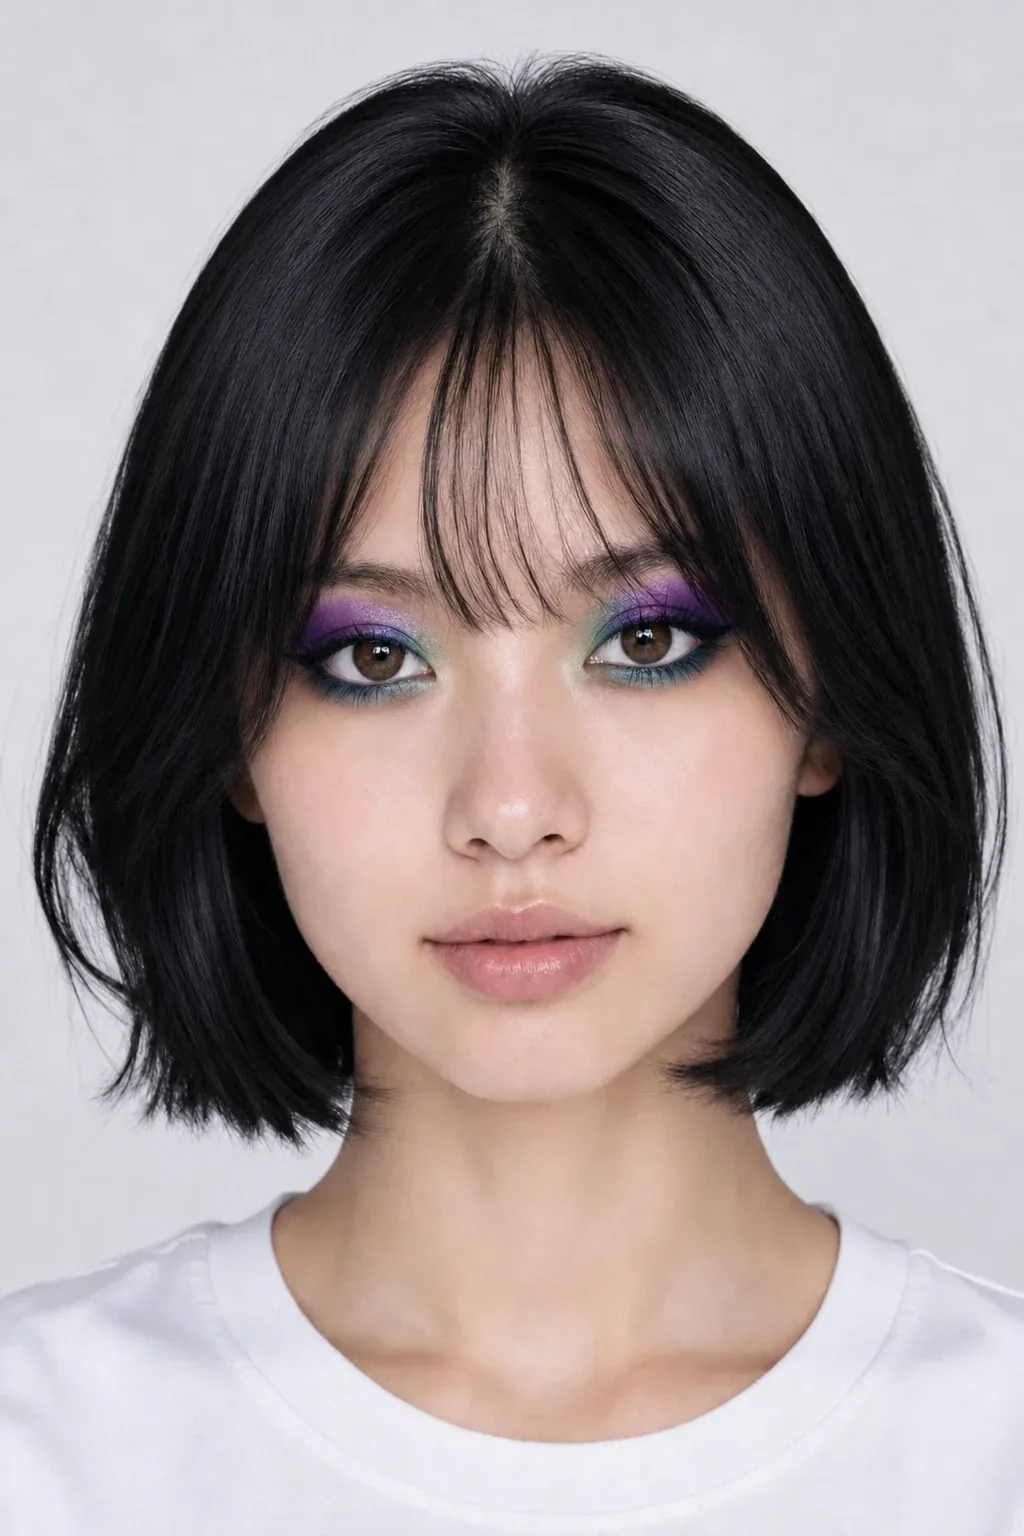
JJ is an AI-generated model. Makeup changes are illustrated by AI.
infoCoupang links on this page are affiliate links (Coupang Partners) — we may earn a commission at no extra cost to you. YesStyle and Amazon links are plain searches. Each link searches for a product type, not a specific brand we endorse.
1Eyes
Find the angle from the lower lash line
Imagine the curve of your lower lash line continuing upward toward the tail of your brow. Mark a small guide line outward along that angle.
Brush pen eyeliner or thin pencil2Eyes
Draw the wing tip, then connect inward
Instead of drawing from the inner corner outward, start at the outer tip and glide inward toward the center of your lid. This creates a neat triangular wing.
Brush pen eyeliner3Eyes
Fill the gap and smooth the line
Connect the wing smoothly to the tightline from lesson 15. Fill the small gap between the wing base and your lash line so the flow looks seamless.
Brush pen eyeliner4Eyes
Clean up edges with a swab or tape
If the line looks thick, take a cotton swab dampened with a tiny drop of lotion and sweep upward under the wing to sharpen it. Applying guide tape before lining also gives crisp edges.
Pointed cotton swab · lotion or paper tape
lightbulbTips
- Look straight into a mirror with your eyes open to set the angle; if you close your eyes, the wing may hide inside your crease.
- Ensure the wing tip clears your eye crease so the line stays smooth when your eyes are open.
errorCommon mistake
Trying to draw one continuous stroke from the inner corner to the wing tip often results in thick, uneven lines.
health_and_safetyTry any new product on your inner arm first. If redness, itching or irritation appears, stop using it and consult a dermatologist. Keep eye products out of the eyes.
The face chart is an AI-generated illustration showing where each step goes — not a photo of a real result.