Lesson 19 of 36K-beauty
Monolid eye makeup
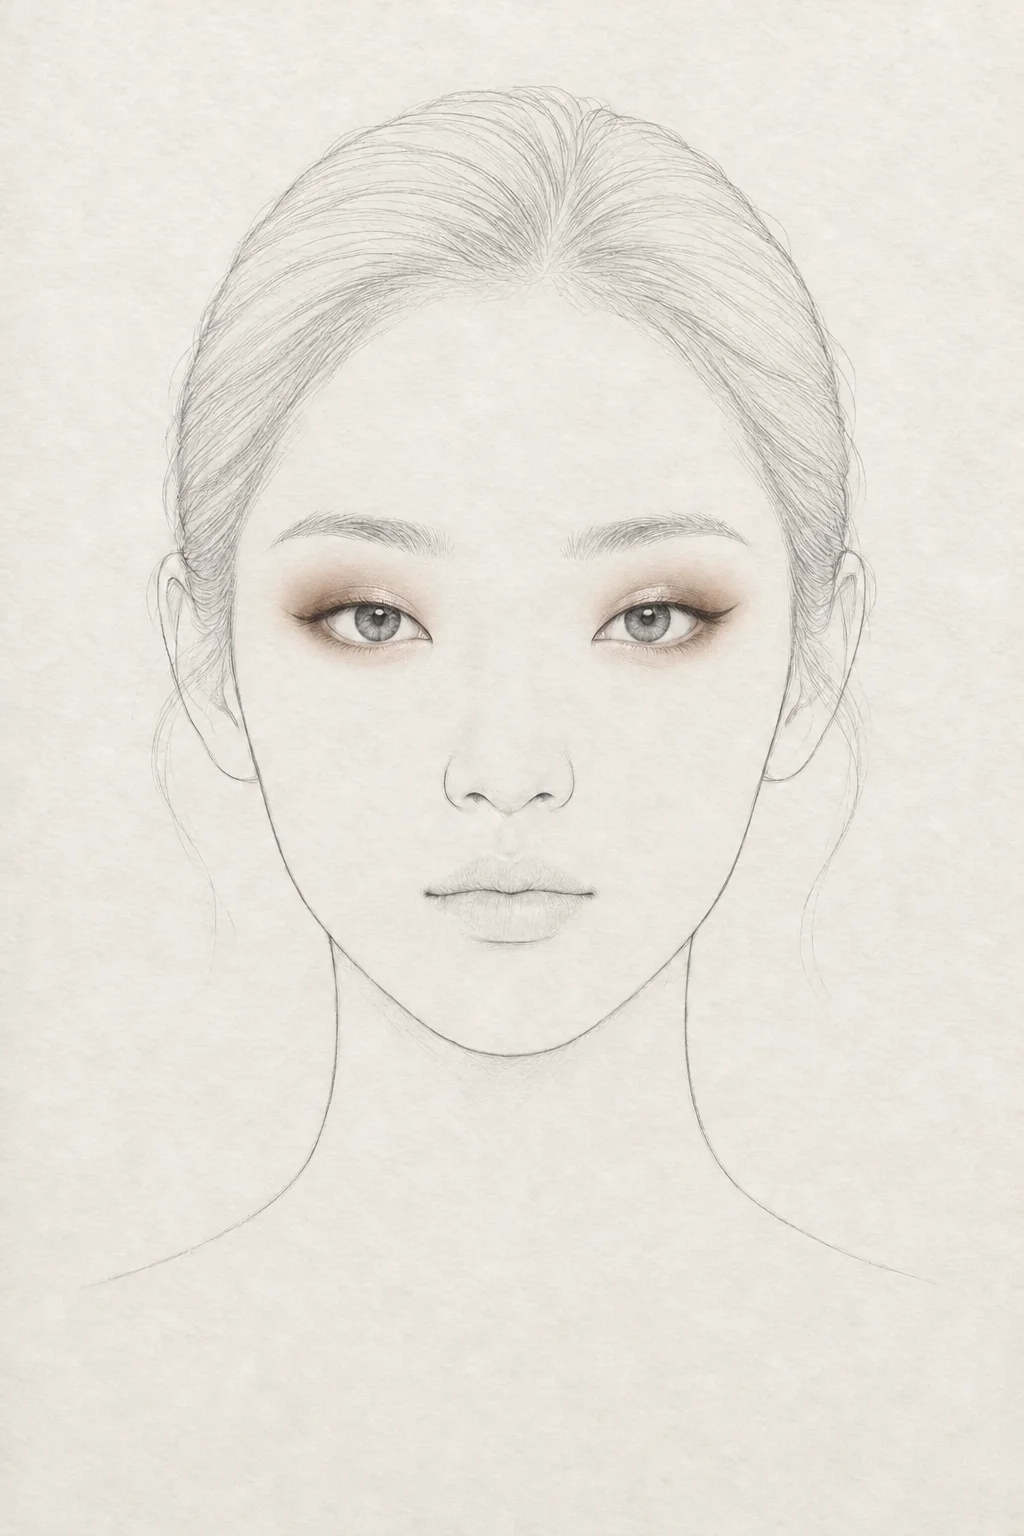
Monolids need a different approach: blend shadow upward and outward for an open look, keep shimmer only at the center, and focus liner on the waterline and outer tail for a naturally defined finish.
 1·2·3·4
Watch · 19 sec
All 4 steps on one face
The chart shows where each step goes; the video shows how the face changes. Step-by-step details are below.
JJ is an AI-generated model. Makeup changes are illustrated by AI.
infoCoupang links on this page are affiliate links (Coupang Partners) — we may earn a commission at no extra cost to you. YesStyle and Amazon links are plain searches. Each link searches for a product type, not a specific brand we endorse.
1Eyes
Blend shadow upward and wide
Apply a light base shadow all over the lid. With a mid-tone shade, blend above where a crease would be—look straight ahead and bring the color up until it’s softly visible. A wide gradient keeps monolids from looking closed-in.
Matte eyeshadow · blending brush2Eyes
Shimmer only on the center
Tap a light shimmer shadow just on the center of the lid with your finger or a small brush. Stop when you see a subtle glow with your eyes open. Applying shimmer all over can make lids look puffy.
Shimmer eyeshadow · small brush3Eyes
Liner: tightline and long tail
With gel or pencil, fill in just the waterline between lashes. Extend the outer tail slightly upward for definition. Avoid thick lines—they can make eyes look smaller.
Gel eyeliner · liner brush4Eyes
Shadow under the outer lower lashline
Using a small brush, apply a medium brown shadow to the outer third of the lower lashline. Blend softly for a seamless look—this elongates the eye shape.
Small brush · shading shadow
lightbulbTips
- Blend shadow with your eyes open to match the height easily.
- Draw liner in short strokes for a cleaner tail.
errorCommon mistake
Keeping shadow too low makes monolids look more closed-in.
health_and_safetyTry any new product on your inner arm first. If redness, itching or irritation appears, stop using it and consult a dermatologist. Keep eye products out of the eyes.
The face chart is an AI-generated illustration showing where each step goes — not a photo of a real result.