Lesson 5 of 36
How to apply foundation without looking cakey
Applying too much foundation can quickly make your skin look heavy and cakey. Start with a small amount in the center of your face, then add a little more only where you need extra coverage.
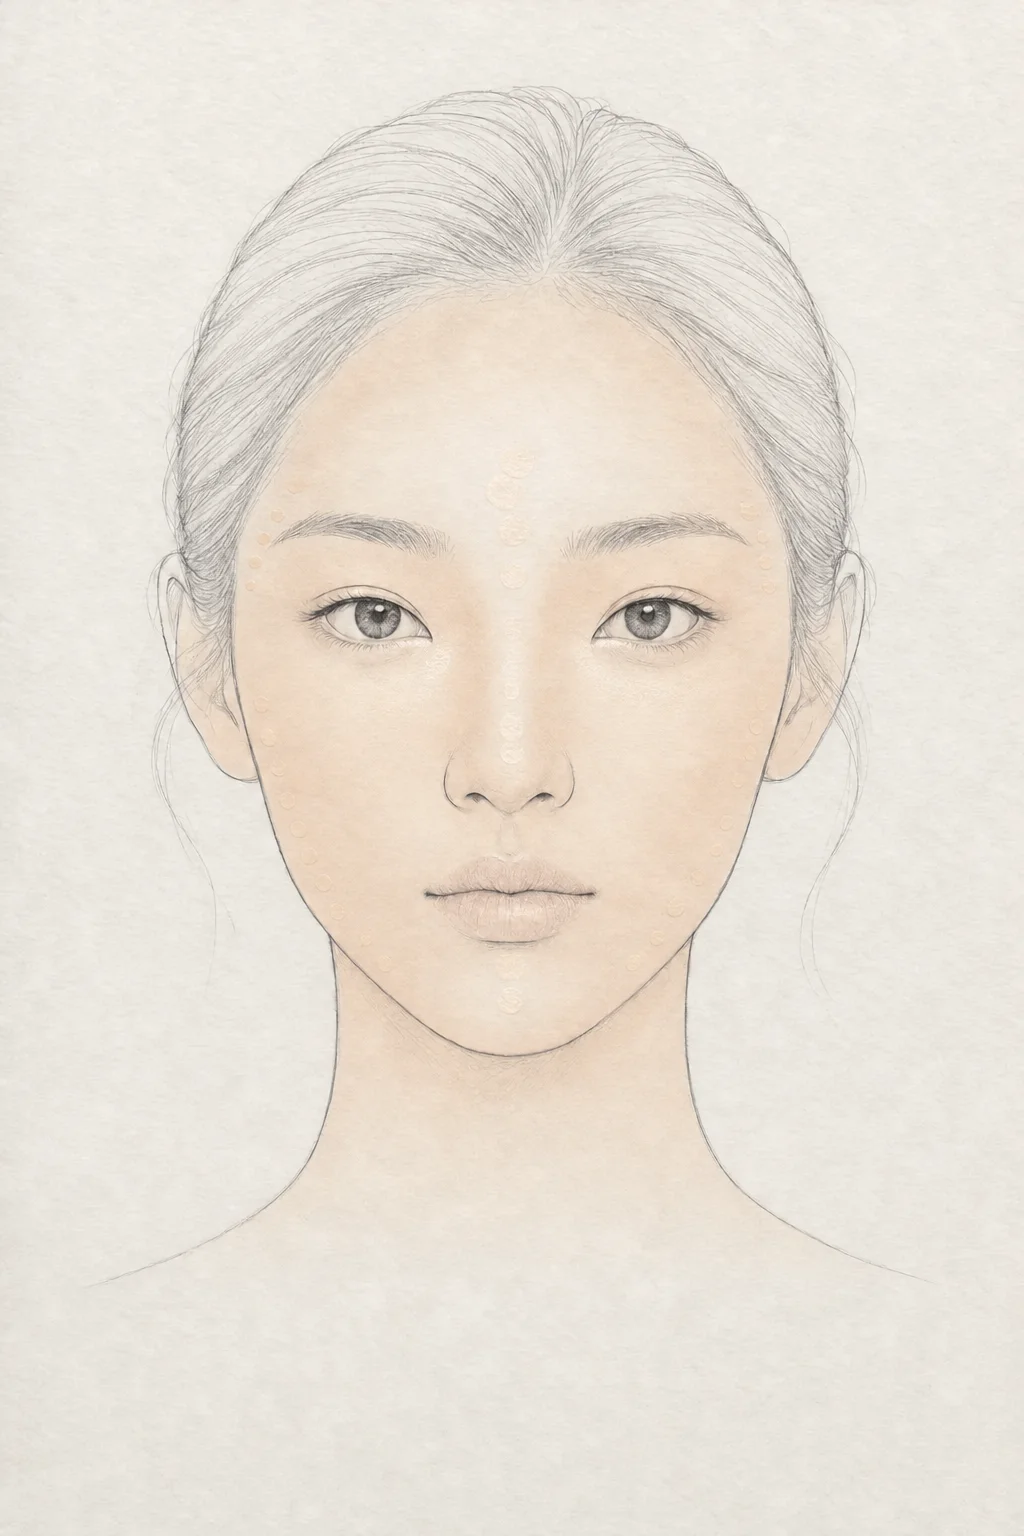 1·2·3·4
Watch · 19 sec
All 4 steps on one face
The chart shows where each step goes; the video shows how the face changes. Step-by-step details are below.
JJ is an AI-generated model. Makeup changes are illustrated by AI.
infoCoupang links on this page are affiliate links (Coupang Partners) — we may earn a commission at no extra cost to you. YesStyle and Amazon links are plain searches. Each link searches for a product type, not a specific brand we endorse.
1Skin
Dispense a small amount
Dispense a pea-sized amount of foundation onto the back of your hand. Avoid using too much at once; you can always add a bit more if needed.
Liquid foundation2Skin
Apply from the center outward
Dot foundation onto your nose, cheeks, and the center of your forehead, then blend outward in thin layers. On the outer edges of your face, lightly sweep on only the remaining product for a sheer finish.
Brush or sponge3Skin
Layer only where needed
Gently layer a small amount only on areas that require extra coverage, such as redness, spots, or dark circles. Avoid building up thick layers all over.
Finger or sponge4Skin
Check for patchiness
Check your jawline, sides of the nose, and under-eye area for dry patches or cakeyness. Gently tap any areas that haven't adhered well with a sponge to blend them out.
Sponge
lightbulbTips
- Applying thin layers looks far more natural than applying one thick coat.
- Keep the outer perimeter of your face almost bare to prevent visible foundation lines.
errorCommon mistake
Applying a thick layer all over your face from the start can cause foundation to look cakey and settle into fine lines.
health_and_safetyTry any new product on your inner arm first. If redness, itching or irritation appears, stop using it and consult a dermatologist. Keep eye products out of the eyes.
The face chart is an AI-generated illustration showing where each step goes — not a photo of a real result.